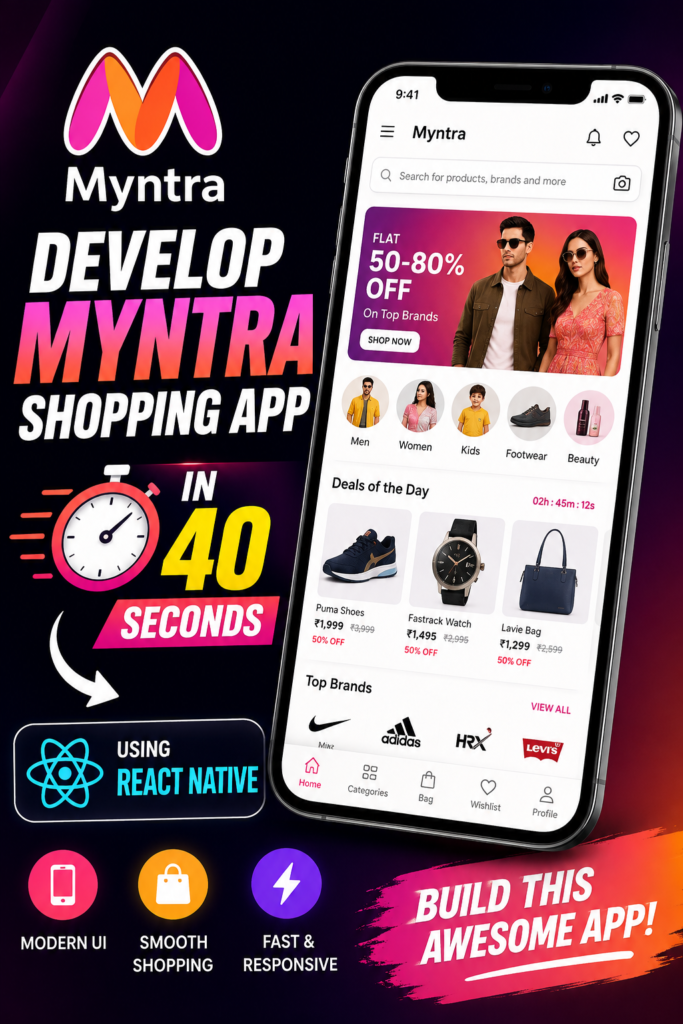
Build a modern fashion e-commerce shopping app interface inspired by Myntra using React Native and Expo.
This project is designed for developers who want to learn how to build a real-world shopping application interface with reusable components, product listings, categories, search, product details and cart functionality.
Note: This is an independent educational project inspired by modern fashion e-commerce applications. It is not an official Myntra application.
📱 About the Project
The Myntra Shopping App UI is a React Native mobile application project that demonstrates how to build a modern fashion shopping experience for Android and iOS.
The project focuses primarily on the frontend/mobile UI, making it useful for developers who want to practice React Native development and understand how a real-world e-commerce application can be structured.
The application includes multiple screens and reusable components for displaying products, categories, product information and shopping cart interactions.
You can download the complete project source code from SkillHost and run it locally using Expo.
⚛️ What is React Native?
React Native is an open-source framework created by Meta that allows developers to build mobile applications using JavaScript and React.
Instead of creating separate applications using:
- Kotlin/Java for Android
- Swift/Objective-C for iOS
developers can use React Native to build applications using a shared JavaScript/React codebase.
For example:
React Native
     │
     ├── Android
     │
     └── iOS
This makes React Native particularly useful for developers who already know React.js and want to move into mobile application development.
Why use React Native?
Some of the main advantages include:
- Reusable components
- JavaScript-based development
- React programming model
- Cross-platform development
- Large developer ecosystem
- Easy integration with APIs
- Fast development workflow
- Good support for modern mobile applications
🚀 Why Expo?
This project can be run using Expo, which makes React Native development significantly easier, especially for beginners.
Expo provides tools and services that simplify tasks such as:
- Creating React Native applications
- Running applications on physical devices
- Running applications in development
- Managing assets
- Building applications
- Testing during development
For this project, Expo is the easiest way to get started.
🛠️ Technologies Used
This project uses technologies such as:
React Native
Used to build the mobile application interface.
JavaScript
Used as the primary programming language.
Expo
Used for the React Native development environment and running the application.
React Navigation
Used for navigating between different application screens.
React Components
Reusable components are used throughout the application to keep the code organized and maintainable.
CSS / React Native Styling
Used to create the application’s layout, spacing, typography and visual appearance.
🚀 Features
The project includes the following features:
🏠 Fashion-focused Home Screen
A modern shopping home screen designed around fashion products and categories.
🗂️ Category Browsing
Users can browse different product categories.
🛍️ Product Listing
Products can be displayed in a structured shopping layout.
🔎 Product Search
Users can search for products within the application.
📦 Product Details
A dedicated product detail screen provides additional information about a selected product.
🛒 Add to Cart
Products can be added to the shopping cart.
➕ Quantity Controls
Users can increase or decrease product quantities inside the cart.
📱 Responsive Mobile UI
The interface is designed for mobile screen sizes.
🧭 Modern Navigation
React Navigation is used to move between application screens.
🧩 Reusable Components
The application is structured using reusable React Native components.
📱 Screens Included
The project includes multiple screens such as:
Home Screen
The main shopping screen containing categories, products and promotional sections.
Category Screen
Displays products according to selected categories.
[Add Category Screenshot Here]
Product Listing Screen
Displays available products in a shopping-friendly layout.
📂 Project Structure
A typical project structure looks similar to:
myntra-shopping-app/
│
├── assets/
│   ├── images/
│   └── icons/
│

│
├── screens/
│   ├── HomeScreen.js
│
│
│
├── navigation/
│   └── AppNavigator.js
│
├── App.js
├── package.json
└── ...
Note: The exact folder structure may differ depending on the version of the project you download.
💻 Requirements
Before running the project, make sure you have the following installed.
Node.js
Install the current supported Node.js version from the official Node.js website.
npm
npm is normally installed automatically with Node.js.
Check your installation:
node -vnpm -vExpo
You don’t necessarily need to install Expo globally for modern Expo projects.
You can use:
npx expo📥 Download the Project
Download the complete project ZIP from the Download Project button on this page.
After downloading, extract the ZIP file.
For example:
Downloads/
└── myntra-shopping-app/
Open the project directory in VS Code or another code editor.
⚙️ Step 1 — Install Dependencies
Open your terminal inside the project folder.
Run:
npm installThis installs the dependencies specified in package.json.
Wait until the installation completes.
🚀 Step 2 — Start the Expo Development Server
Run:
npx expo startExpo will start the development server.
You should see a QR code in your terminal or browser.
📱 Step 3 — Run on Android Using Expo Go
The easiest way to test the application is with a physical Android device.
Install Expo Go
Install the Expo Go application on your Android phone.
Make sure:
Computer
   │
   │ Same Wi-Fi
   │
Android Phone
Both devices should generally be connected to the same network.
Then run:
npx expo startScan the QR code using Expo Go.
The application should open on your phone.
🍎 Step 4 — Run on iPhone
If you’re using an iPhone, install Expo Go from the App Store.
Start the development server:
npx expo startThen scan the QR code using the Expo Go application.
The project should load on your device.
🖥️ Step 5 — Run on Android Emulator
If you have Android Studio and an Android emulator configured, start your emulator.
Then run:
npx expo startAfter Expo starts, press:
ain the terminal.
Expo will attempt to launch the application in the Android emulator.
🌐 Step 6 — Run in the Browser
If the project supports Expo web, you can also try:
npx expo start --webThis will open the application in your browser.
However, the mobile version is the primary target of this project, so some mobile-specific functionality may behave differently on the web.
🧹 Common Installation Problems
If you encounter dependency issues after downloading the project, try:
rm -rf node_modulesThen:
npm installOn Windows PowerShell, you can use:
Remove-Item -Recurse -Force node_modulesThen:
npm installStart Expo again:
npx expo start🔄 Clear Expo Cache
If the application behaves unexpectedly after installing dependencies, try:
npx expo start -cThis clears the Expo/Metro cache and starts the development server again.
📦 What’s Included?
The downloadable project contains:
- Complete React Native source code
- Expo configuration
- Application screens
- Reusable components
- Navigation
- Product UI
- Assets
- Styling
- Configuration files
package.json
The exact contents depend on the project version you’re downloading.
🎯 Who Is This Project For?
This project can be useful for:
- React developers learning React Native
- Beginners learning Expo
- Students working on mobile application projects
- Developers practicing e-commerce UI development
- Developers building React Native portfolio projects
- Developers learning component-based mobile UI development
💡 What Can You Build Next?
You can extend this project by adding backend functionality such as:
Authentication
Login
Register
Forgot Password
Profile
Backend API
Connect the application to:
REST API
      ↓
Products
Categories
Users
Orders
Cart
Payment
You could integrate a payment gateway for a production-ready shopping application.
Database
Products, users, carts and orders could be stored in a backend database.
Admin Dashboard
Create an admin panel to manage:
- Products
- Categories
- Users
- Orders
- Inventory
This project therefore provides a good starting point for building a more complete e-commerce application.
⚠️ Important Disclaimer
This project is an independent educational project inspired by modern fashion e-commerce interfaces.
It is not affiliated with, sponsored by, endorsed by, or officially associated with Myntra.
The Myntra name, trademarks, logos and other brand assets belong to their respective owners.
This project should not be represented as an official Myntra application.
📥 Download the Project
Ready to try it?
Download the complete React Native project ZIP from the button below and run it locally with Expo.
Before downloading: Check the demo videos above to see the application in action.